Marbled Vanilla Chocolate Cake
Highlighted under: SugarAlchemy Kitchen
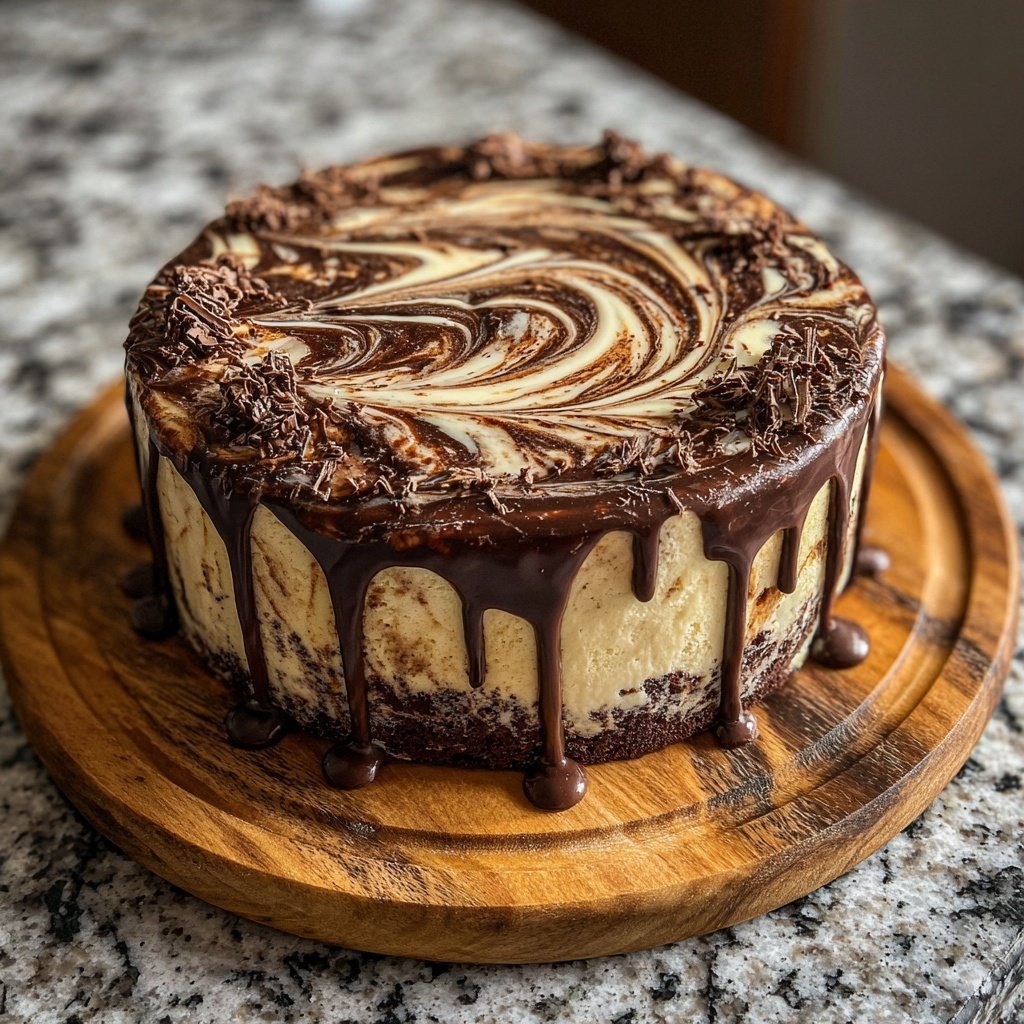
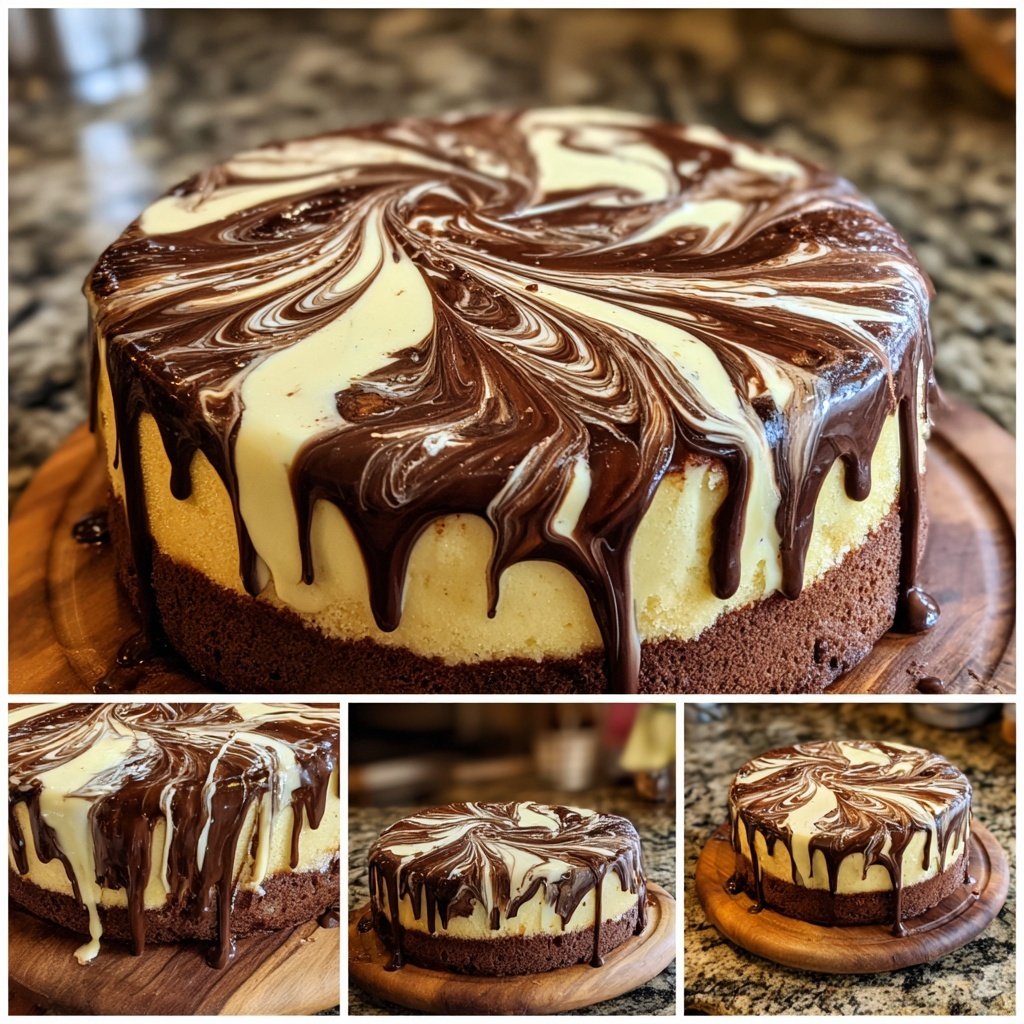
I absolutely love making this Marbled Vanilla Chocolate Cake for special occasions! The way the rich chocolate intertwines with the light vanilla creates a beautiful effect and a delightful flavor that captivates everyone. I’ve found that using high-quality cocoa powder really elevates the chocolate component, giving it depth. Whether it’s a birthday celebration or just a sweet treat for myself, this cake never disappoints. Each slice reveals a stunning pattern, making it as gorgeous as it is tasty. It’s joyfully delicious and straightforward to bake!
When I first tried making this cake, I was amazed at how effortlessly the flavors blended together. The key is in the technique; swirling the batters creates a beautiful marbled effect while keeping each flavor distinct. I recommend using room temperature ingredients to help them mix seamlessly, yielding that perfectly moist texture we crave in every bite.
One memorable baking session, I decided to add a hint of almond extract to the vanilla batter, and it took the flavor to a whole new level! It added a subtle yet enchanting note that paired perfectly with both the chocolate and vanilla, making it one of my favorites to share with friends and family.
Why You Will Love This Recipe
- Rich chocolate flavor paired with creamy vanilla
- Beautiful marbled design that impresses guests
- Moist and tender crumb that melts in your mouth
Techniques for a Perfect Marble
Creating that stunning marbled effect in your cake is as much an art as it is a science. When layering the batters, it’s essential to avoid over-mixing after you introduce the chocolate to the vanilla. I recommend using a knife or a skewer to gently swirl the two together. Make a few gentle folds and then stop; this creates beautiful streaks that showcase both flavors without fully combining them. A little practice makes perfect, so don’t be afraid to experiment with different swirling techniques!
Additionally, aim for a consistent batter thickness when layering. I find that using an ice cream scoop helps in portioning the batter evenly. This ensures that the layers are not too thick or too thin, which can affect the final bake. Also, be cautious not to let the layers sit for too long before swirling, as the batters can set and make it harder to achieve that beautiful marbling.
Ingredient Insight
High-quality cocoa powder is crucial for achieving that rich chocolate flavor without overpowering the vanilla. Look for Dutch-processed cocoa, which is darker and provides a smoother taste. In contrast, natural cocoa powder tends to be more acidic, which can alter the cake's balance. If you run out or want to try something different, you can substitute with dark chocolate melted into the batter, though you'll need to adjust the sugar content accordingly.
Another important ingredient to pay attention to is butter. Using unsalted butter allows you to control the amount of salt in the cake, which is essential for balancing flavors. Always make sure the butter is softened to room temperature for proper creaming with sugar, as this step incorporates air into the mixture, contributing to a light and fluffy crumb. If you need a dairy-free version, coconut oil or a high-quality vegan butter can serve as excellent substitutes.
Ingredients
Gather the following ingredients to create this decadent marbled cake:
For the Cake
- 1 cup all-purpose flour
- 1/2 cup cocoa powder
- 1 1/2 tsp baking powder
- 1/4 tsp salt
- 1/2 cup unsalted butter, softened
- 1 cup granulated sugar
- 2 large eggs
- 1 tsp vanilla extract
- 1/2 cup milk
Once you have everything ready, it’s time to start baking!
Instructions
Follow these steps to create your marbled cake masterpiece:
Prepare the Oven and Pan
Preheat your oven to 350°F (175°C). Grease and flour a 9-inch round cake pan.
Mix the Dry Ingredients
In a bowl, whisk together the flour, cocoa powder, baking powder, and salt. Set it aside.
Cream the Butter and Sugar
In a mixing bowl, cream the softened butter and sugar until light and fluffy. This usually takes about 3-4 minutes.
Add Eggs and Vanilla
Beat in the eggs one at a time, adding the vanilla extract until well combined.
Combine Wet and Dry Ingredients
Gradually add the dry mixture to the wet mixture, alternating with the milk, and mix until just combined.
Create Marble Effect
Spoon half of the batter into the prepared pan. Gently fold in the cocoa mixture to the remaining batter, then spoon it over the vanilla layer. Use a knife to swirl the two batters together lightly.
Bake the Cake
Bake for 30-35 minutes or until a toothpick inserted into the center comes out clean.
Cool and Serve
Let the cake cool in the pan for 10 minutes before transferring it to a wire rack to cool completely. Slice and enjoy!
Enjoy your delicious marbled cake with a cup of coffee or tea!
Pro Tips
- To enhance the flavor, consider adding a chocolate ganache topping or a dusting of powdered sugar before serving. Store leftovers in an airtight container for up to three days.
Storage and Make-Ahead Tips
This Marbled Vanilla Chocolate Cake can be made ahead of time, which is particularly convenient for busy days. After baking, let it cool completely before wrapping it in plastic wrap. It can be stored at room temperature for up to 2 days or refrigerated for up to a week. For longer storage, consider freezing it. Just slice the cake and place it in an airtight container or freezer bags. It will keep well in the freezer for up to 2 months.
When you’re ready to serve, let the cake thaw in the refrigerator overnight. For a quick warm-up, you can microwave individual slices for about 15-20 seconds—just enough to soften it without drying it out. If you use a layer of frosting, it can also provide that added moisture, making a leftover slice feel freshly baked!
Serving Suggestions
Pair your Marbled Vanilla Chocolate Cake with a scoop of vanilla ice cream or a dollop of whipped cream to enhance its flavor profile. A drizzle of chocolate ganache or caramel sauce can also take your cake to the next level, adding a luxurious touch. For a festive flair, consider garnishing with fresh berries or mint leaves; they not only look beautiful but also provide a refreshing contrast to the richness of the cake.
For those looking for a twist, try adding a layer of fruit preserves between the cake layers before frosting. Raspberry or cherry preserves pair exceptionally well with chocolate and vanilla, giving an unexpected burst of flavor. If you’re feeling adventurous, experiment with flavored frostings, like coffee or orange zest, for an exciting variation that complements the marbled cake beautifully.
Questions About Recipes
→ Can I use a different type of flour?
Yes, you can substitute all-purpose flour with a gluten-free blend, but the texture may vary.
→ What can I use instead of eggs?
You can use flaxseed meal or applesauce as an egg substitute in this recipe.
→ How do I prevent the cake from drying out?
Make sure to measure your ingredients accurately and avoid over-baking the cake.
→ Can I freeze the cake?
Yes, you can freeze the cake. Wrap it tightly in plastic wrap and aluminum foil. Thaw in the refrigerator when ready to enjoy.
Marbled Vanilla Chocolate Cake
Created by: The Bitehut Team
Recipe Type: SugarAlchemy Kitchen
Skill Level: Intermediate
Final Quantity: 12 servings
What You'll Need
For the Cake
- 1 cup all-purpose flour
- 1/2 cup cocoa powder
- 1 1/2 tsp baking powder
- 1/4 tsp salt
- 1/2 cup unsalted butter, softened
- 1 cup granulated sugar
- 2 large eggs
- 1 tsp vanilla extract
- 1/2 cup milk
How-To Steps
Preheat your oven to 350°F (175°C). Grease and flour a 9-inch round cake pan.
In a bowl, whisk together the flour, cocoa powder, baking powder, and salt. Set it aside.
In a mixing bowl, cream the softened butter and sugar until light and fluffy. This usually takes about 3-4 minutes.
Beat in the eggs one at a time, adding the vanilla extract until well combined.
Gradually add the dry mixture to the wet mixture, alternating with the milk, and mix until just combined.
Spoon half of the batter into the prepared pan. Gently fold in the cocoa mixture to the remaining batter, then spoon it over the vanilla layer. Use a knife to swirl the two batters together lightly.
Bake for 30-35 minutes or until a toothpick inserted into the center comes out clean.
Let the cake cool in the pan for 10 minutes before transferring it to a wire rack to cool completely. Slice and enjoy!
Extra Tips
- To enhance the flavor, consider adding a chocolate ganache topping or a dusting of powdered sugar before serving. Store leftovers in an airtight container for up to three days.
Nutritional Breakdown (Per Serving)
- Calories: 380 kcal
- Total Fat: 26g
- Saturated Fat: 15g
- Cholesterol: 195mg
- Sodium: 85mg
- Total Carbohydrates: 32g
- Dietary Fiber: 3g
- Sugars: 24g
- Protein: 6g